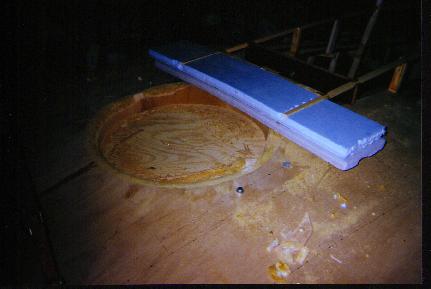
UH recommended building the duct from expanding urethane foam trapped between styrofoam on the outside and plywood connected to a round disk as the inside barrier. I constructed the duct in this manner. I ordered the urethane foam from Wicks Aircraft Supply.
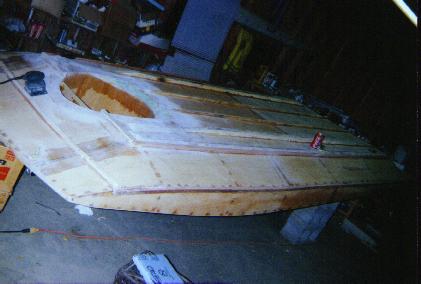
So next I went ahead a cut out all ribs and stringers inside the duct area then proceeded to construct the outer styrofoam barrier.

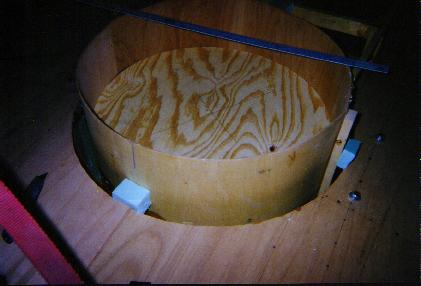
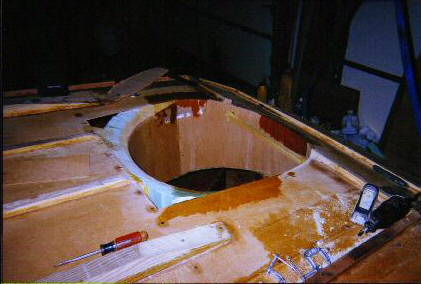
Next insert the inner plywood circle and line everything up. When your confident its lined up correctly with the top and bottom holes its time to mix and pour the urethane expanding foam. As you can see I used some styrofoam shims. The foam expands better when the temperature is high.
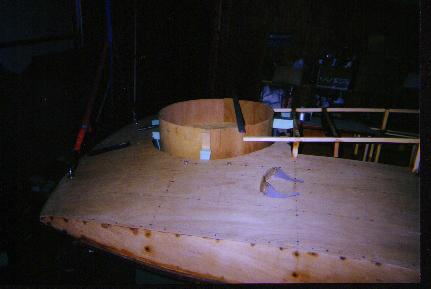
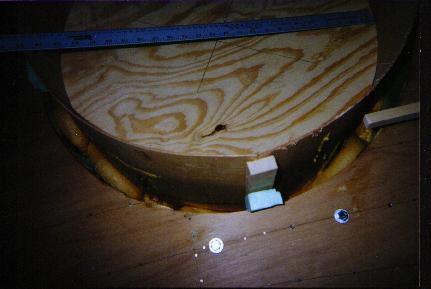
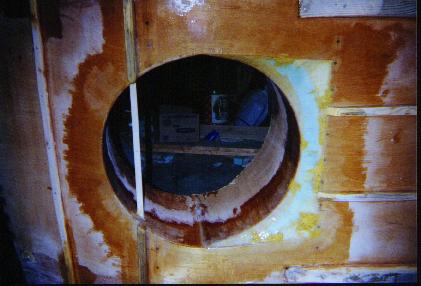
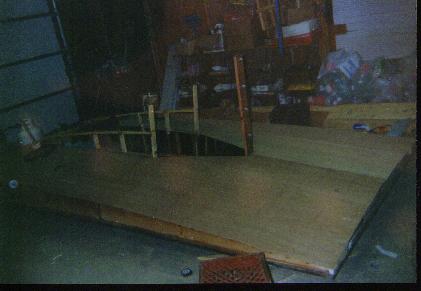
When the foam is dry its time to cut off the excess plywood, sand a smooth radius between the skin and the plywood of the inner duct, and remove the disks.
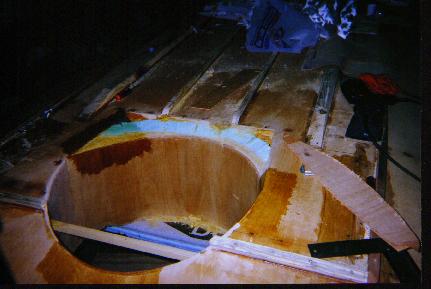
On the bottom I decided to cut and angle from the back of the duct to the bottom skin. I didn't have much room from the rear of the duct to rib 3 though and didn't want to cut through that. The UH book says the angled bottom helps with water not kicking up into the duct.
Once the duct is how you want it its time to fiberglass over the foam for a duct to hull bond. Remember don't use polyester resin, it doesn't work with foam. There may be some more fiberglassing involved in the center of the duct if the prop is not a perfect fit. Also an air splitter in the duct needs to be added.


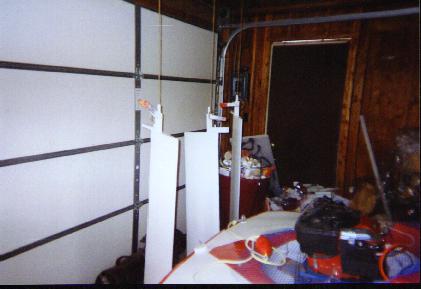
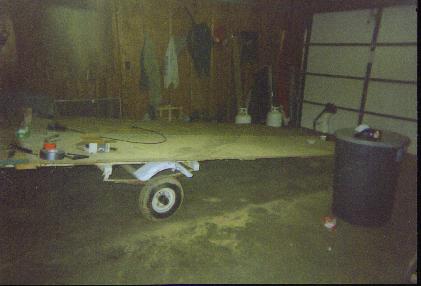
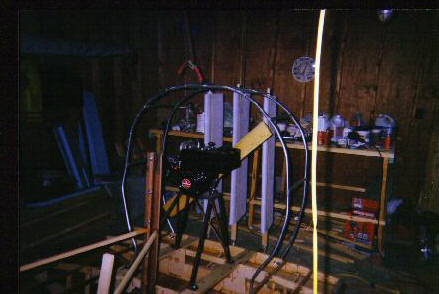
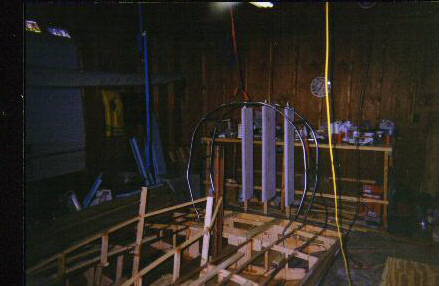
In order to make the motor mount and test fit the engine and fan for me it was time to involve the local welder, I don't weld. I needed to take the hull, engine and fan to him so the mount would fit right. That meant it was time to build trailer to haul the hovercraft.
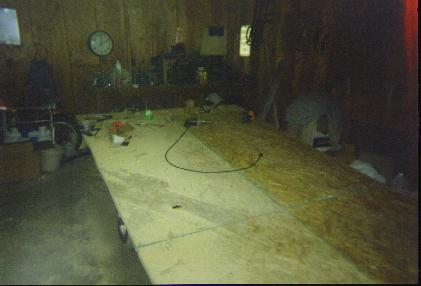
Trailers can be expensive, I decided the cheapest way to get a trailer 6'4" wide by 14' long would be to get/use a boat trailer. I found it was cheaper to buy a junk boat with trailer rather than a trailer alone. I discarded the old boat hull and layed 3/4" thick plywood on top of the trailer. This makes a nice size and strong flat bottom trailer.

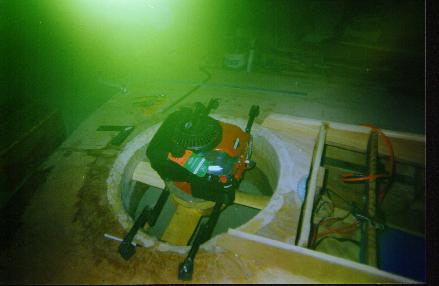
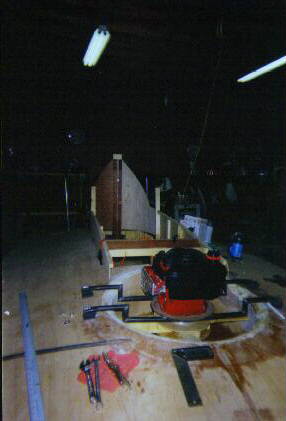
Mount the fan on the engine. Set the engine on a box or something in the duct. Center it well. Determine height allowing for rubber vibration dampers on motor mount bolts. Then make the mount.
Next its time to fill in the area just behind the front engine and above duct level. Before doing so determine if your steering system will need any of this area and if any cables or wires need to run through that space. My steering did need a little space. I decided to use more expanding foam to fill in this area and top it with more 1/8" plywood, and since my throttle cable, kill switch and tachometer wires needed to go through, I inserted a small pvc pipe and foamed around it. Also consider how you are going to attach your fan guard.
I decided I was not going to do/add the windshield, but if you are, consider it's requirements for this space also.
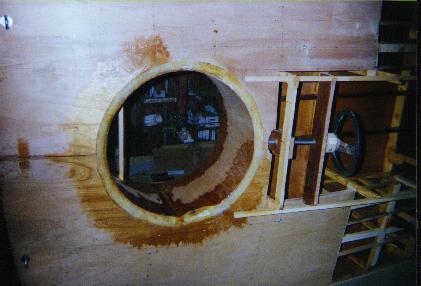
The following pictures are from later in the build but it shows this area built up and the cables coming through.
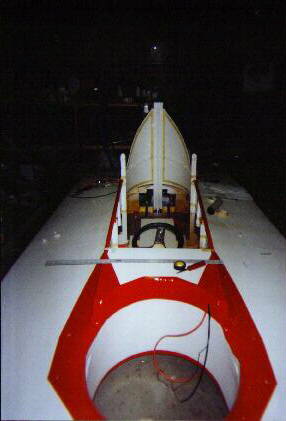
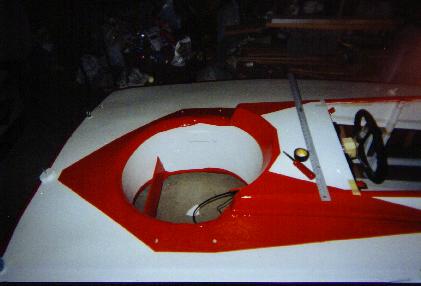 Notice the air splitter.
Well the front section is done, time to move towards the rear. We basically need to finish the rest of the craft then skin the rear and passenger compartment, paint and final assembly. You can do the next few steps in any order. So to get started lets think about the steering system, to fully install and test this we need the rudders. To do the rudders we need the rear prop guard. In order to do the rear prop guard we need the rear engine and propeller. So its time to buy the rear engine if you haven't already and a prop. The size of the prop and the amount of space between the engine shaft and the bottom of the engine determine the height of the rear motor mount. From that measurement you'll know how big to make the rear prop guard.

You don't need to completely finish the rudders now just shave the styrofoam and glue to the wood which is cut to the right height now that you have the guard to measure against. On the lower rudder mounts, remember you cant get inside the rear end to hold a nut or fix it, make sure you attach them right. I used 1/4" x 20 bolts sticking out from the inside, with the heads welded to a piece of flat metal long enough to hit the frame and not rotate.
In case you get a hole in the hull you'll need to install something to make the craft float. UH recommends milk jugs in their booklet. Determine how your going to hold these in and install any hardware needed.
There a probably lots of ways to make a couple seats. I just cut the legs off a couple plastic lawn chairs, then mounted them to a board that moves forward and back. The movement is needed for balance.
Now how about some gauges, kill switches, throttles, lights? Figure out how your going to do these and mount and cable holders inside.
Drill holes anywhere your going to want handles. Remember to put in nut plates or something similar anyplace you won't be able to get to after skinning the top rear.
If you haven't already done it, add some bracing to the area where you will step in and out.
Once you have everything worked out, its time to go ahead and skin the top rear.
After installing the top rear skin, I turned it back over then painted the inside top with a water sealer.
Go ahead and finish fiberglassing the rudders now, if you haven't already.